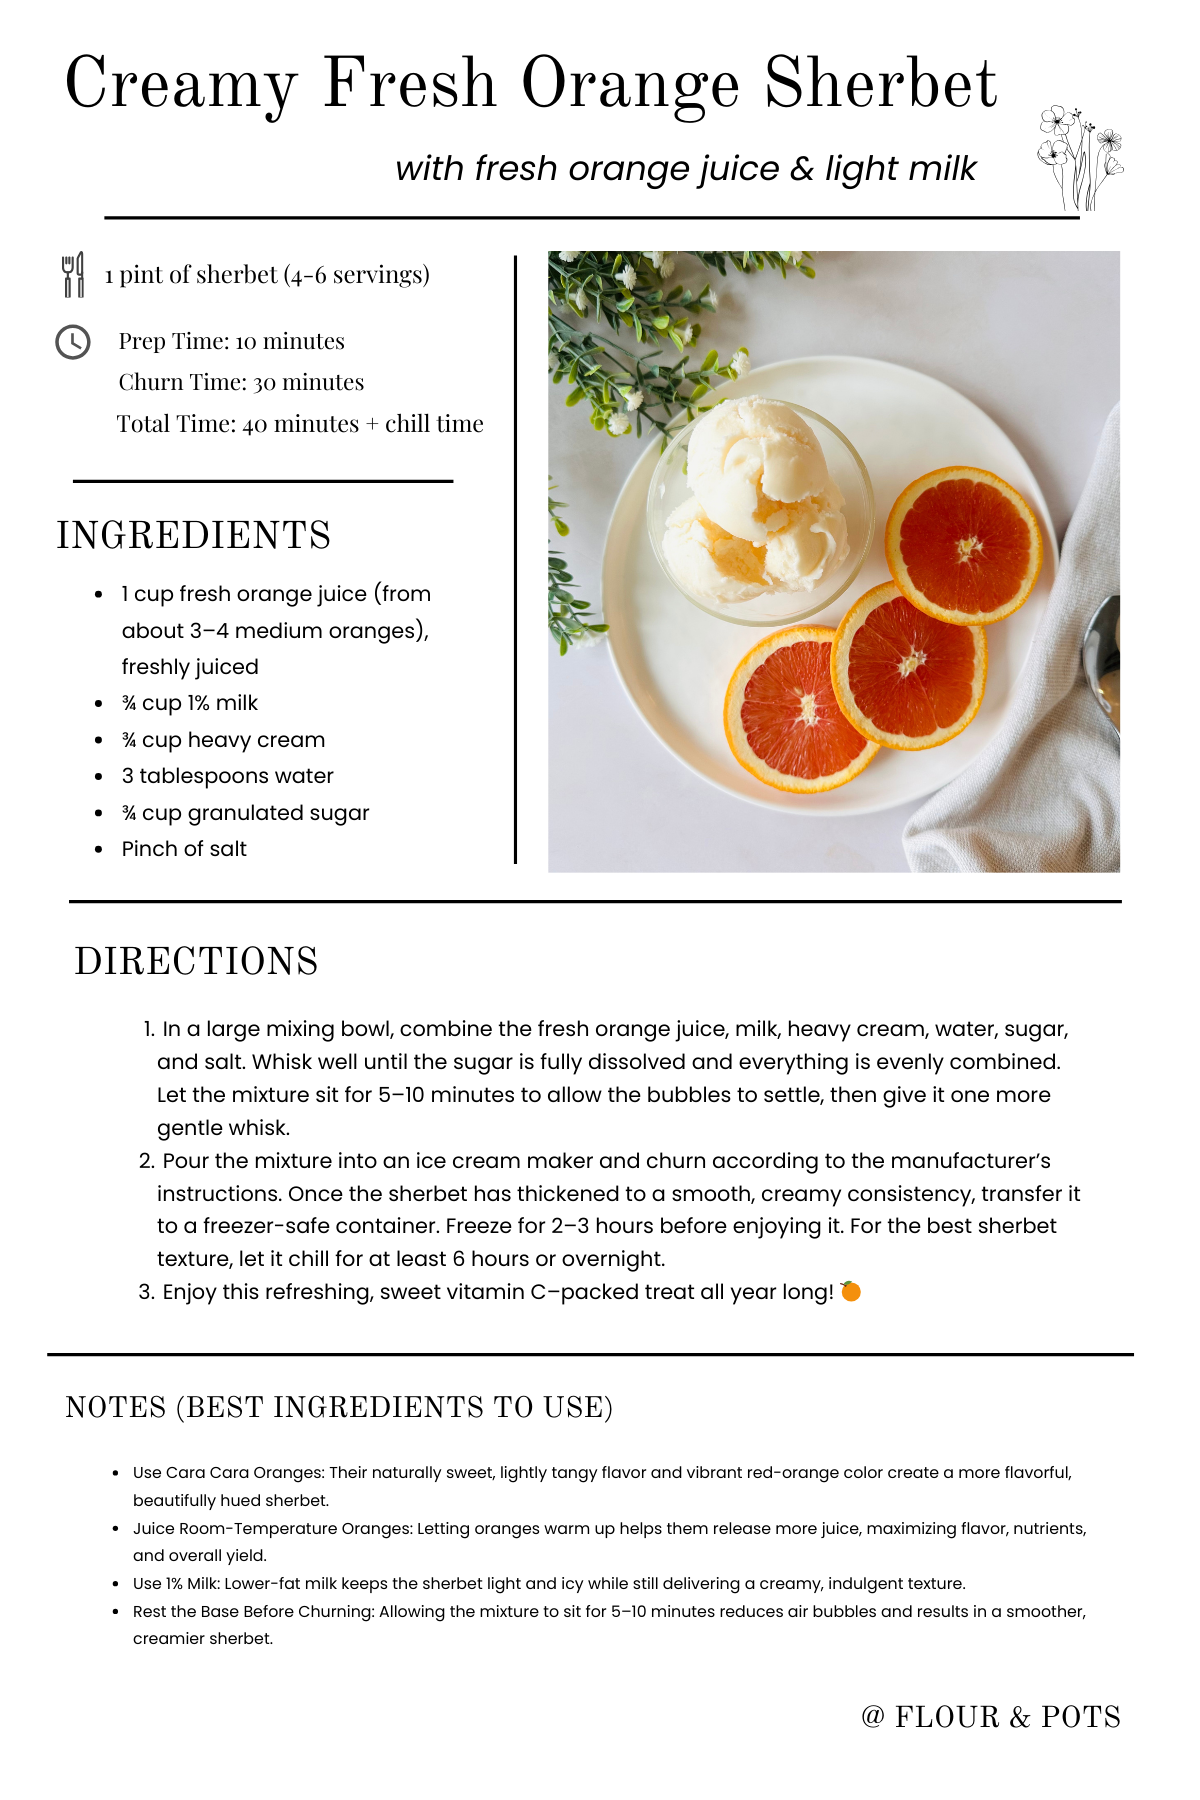
Simple Creamy Orange Sherbet

This is peak orange season, and what’s better than fresh oranges—juiced and folded into a creamy, light sherbet base for a quick, refreshing little treat? This icy dessert gives you a boost of vitamin C, a little extra protein from the dairy base, and it’s a lighter, more refreshing option compared to heavy ice cream. So if I were you… I’d opt to make this super simple, super delicious, and super wonderful homemade sherbet that may not last very long in your freezer—so sorry!
When I set out to make this recipe, I wanted something that truly showcased the seasonal fruit that’s in abundance at grocery stores right now: oranges! My absolute favorite are Cara Cara oranges, and I always try to keep a large bag from Costco on hand all December, January, and March—when they’re in peak season and incredibly sweet (way better than any candy loaded with unhealthy refined sugars). They make the best juice, adding layers of sweetness, tang, and vibrant color that this sherbet needs in abundance. Every scoop you pull from the freezer is absolutely wonderful.
So what’s better than juicing your own fresh oranges on the spot to pack in a few more vitamins and minerals this year—and in every bite of this sweet little frozen treat?! Nothing. This recipe comes together in just four simple steps, mix, freeze for a couple of hours, and that’s it. You’ve got your very own homemade sherbet that’s far healthier than store-bought options—most of which are packed with corn syrups, stabilizers, preservatives, artificial dyes, saturated and trans fats, and a ton of unnecessary sugar. Have a treat, but be smart about it, and feel great :)
How to Make the Best Orange Sherbet
• Use Cara Cara Oranges:
These oranges have a beautiful red-orange hue, deeper than a traditional navel orange. In my opinion, they have better depth of flavor—sweet with just enough tang—creating a perfectly balanced fruit that juices beautifully. They add extra color and a more vibrant citrus flavor to this creamy orange sherbet. I promise, once you try them, you’ll love them too!
• Juice Room-Temperature Oranges:
Oranges that have been brought to room temperature juice more easily, releasing more liquid from the flesh. This helps you get the most flavor and nutrients from each orange, saves money, reduces waste, and maximizes the payoff of this recipe.
• Use 1% Milk:
Lower-fat milk works best for sherbet. You want it creamy, but still light. Using 1% milk keeps the fat content lower while adding the iciness that gives sherbet its signature texture—making this a smarter dessert choice that still tastes indulgent.
• Let the Base Sit for 5–10 Minutes Before Churning:
After whisking all the ingredients together and fully dissolving the sugar, let the mixture rest briefly. This allows air bubbles to dissipate, reducing excess oxygen and creating a creamier, less whipped texture—without adding any extra ingredients this sherbet simply doesn’t need.
*Health Benefit Notes: This recipe is made with fresh oranges rich in vitamin C, a dairy base that provides a good amount of protein, and added water that helps dilute the needed moderate amount of sugar.
Easy Recipe Variations
• Make It a Little Healthier:
Cut the sugar in half and replace the other half with honey. This creates a slightly chewier sherbet texture, but it’s still wonderful—and the honey adds a subtle caramel-like depth of flavor.
• Make It Dairy-Free:
Sub a plant-based heavy cream for the cream and use extra-creamy almond milk or oat milk in place of the milk. It still works beautifully and makes for a simple, healthier homemade frozen dessert.
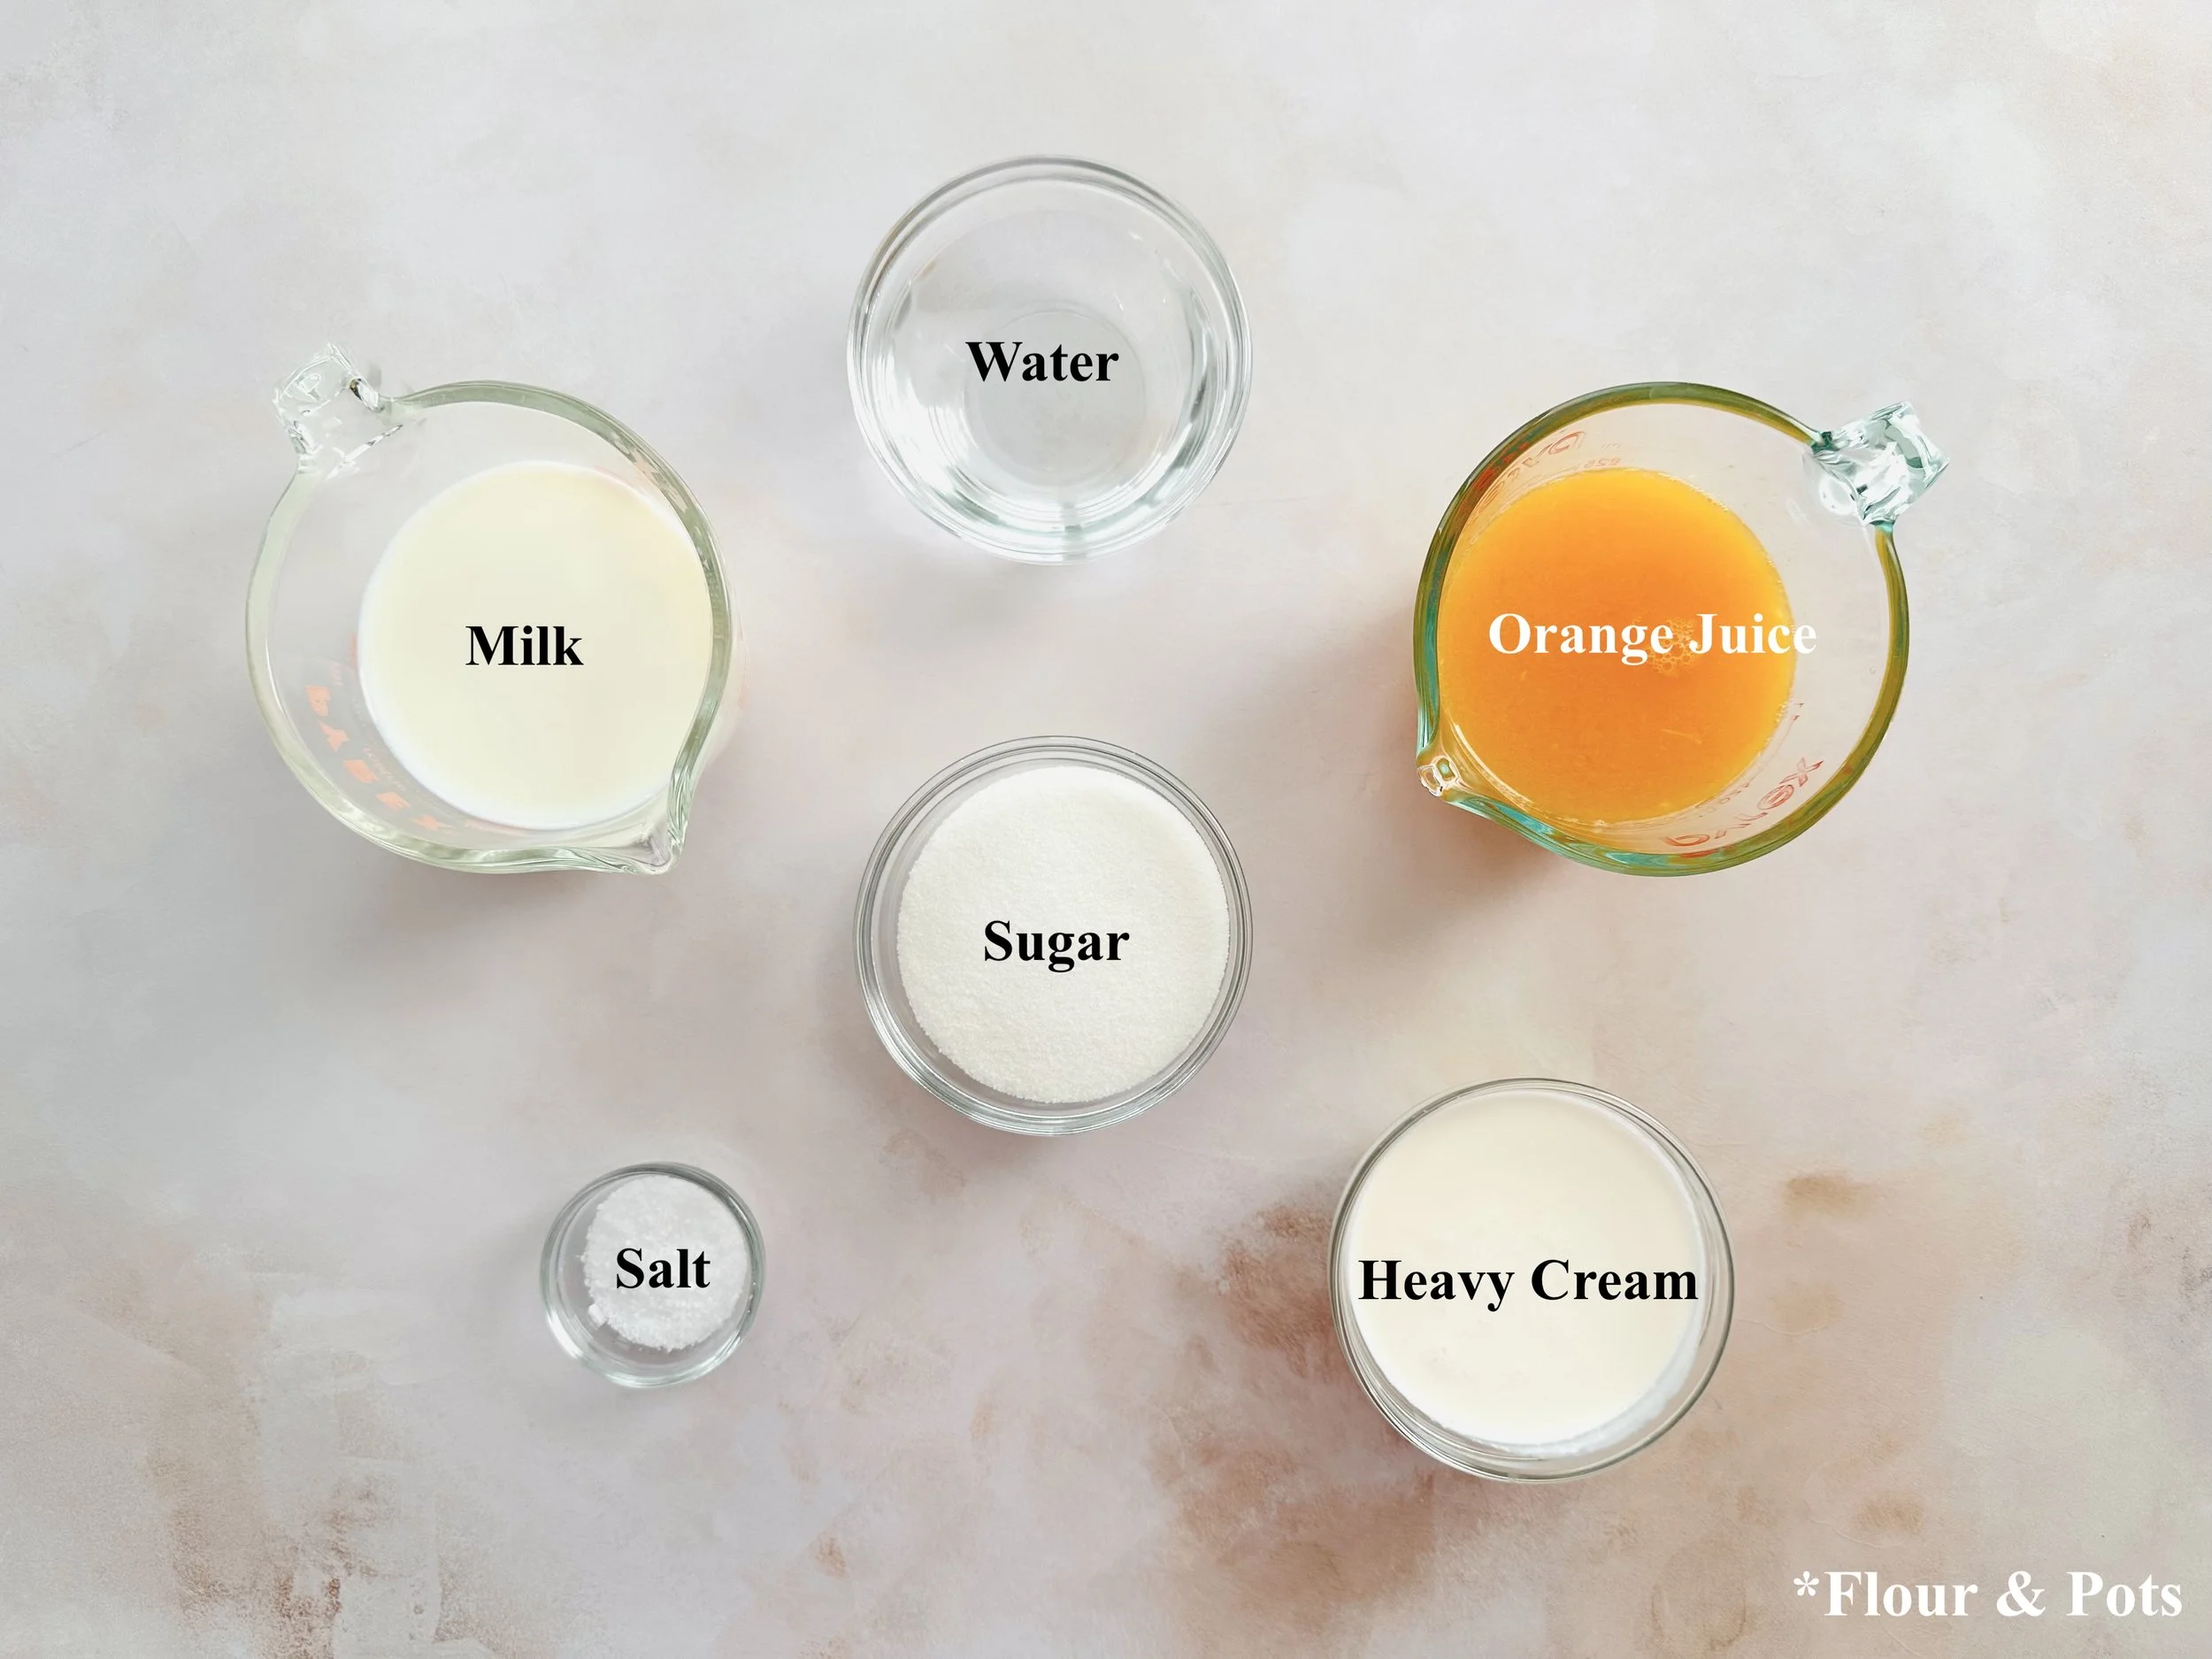
Ingredients:
Freshly juiced oranges
1% milk
Heavy cream
Water
Granulated sugar
Pinch of salt
How to make this Creamy Orange Sherbet
Step 1: Mix the Sherbet Base
In a large mixing bowl, combine the fresh orange juice, milk, heavy cream, water, sugar, and salt. Whisk well until the sugar is fully dissolved and everything is evenly combined. Let the mixture sit for 5–10 minutes to allow the bubbles to settle, to decrease the oxygen content in the base.
Step 2: Churn the Sherbet
Pour the mixture into an ice cream maker and churn according to the manufacturer’s instructions. Continue churning until the sherbet thickens to a smooth, creamy consistency.
Step 3: Freeze & Set
Transfer the sherbet to a freezer-safe container and freeze for 2–3 hours before enjoying. For the best sherbet texture, let it chill for at least 6 hours or overnight.
Step 4: Scoop & Enjoy
Scoop, serve, and enjoy this refreshing, sweet, vitamin C–packed treat any time of year!