
How to freeze peaches - Any Variety
I don’t know if it’s the same for anyone else, but summer and fall feel like Christmas time to me — all the fresh fruit and vegetables are right at your fingertips, just waiting to be turned into literally anything you can imagine. It’s honestly one of the best things in the world!
So, when July, August, and September roll around in Utah, one of those fresh ingredients that comes overflowing in abundance? Peaches! They come in so many varieties, they’re super juicy and sweet, and they’re so easy to slice up and freeze for later.
Because let’s be honest — frozen peaches from the store just aren’t the same. They’re rarely as sweet as the perfectly ripe stone fruit you get locally at the end of summer and into the early harvest months of fall. And with all the extra fruit piling up during the season, freezing your own peaches helps reduce waste and saves that perfectly sweet, ready-to-use fruit for the winter months — when produce isn’t quite as exciting and delicious. 😊
That’s why I wanted to write this post — to share how to freeze those amazingly crave-worthy peaches for the long term. That way, you can enjoy them in smoothies, baked goods, homemade syrups, sauces, etc., whenever you feel like it. It’s all so yummy!
Why Freeze Peaches at Home?
By cutting, freezing, and preserving your own fresh fruit (like peaches), you get to control the quantity, quality, and timing — locking in all that flavor for future cooking and enjoyment!
Fruit is always sweeter when it's allowed to ripen fully — that perfectly juicy, golden stage when it just tastes better. And all it really needs is a little time in your cozy kitchen to mature to perfection.
A lot of the fruit you find pre-cut, packaged, and frozen at the grocery store (especially peaches) is harvested before it reaches that golden-ripe stage — when it’s still firm and easier for machines to slice and process without totally destroying it.
Peaches in particular that are picked for commercial freezing are still firm, green, and unripe. And you can taste it — they have that almost bland, unseasoned flavor and lack the natural sweetness you'd expect, even when tossed into homemade smoothies or syrups that are already sweet to began with.
Plus, it’s way more cost-effective to buy local or in-season fruit fresh and freeze it yourself. Store-bought frozen fruit often costs about three times as much because of the added processing (like slicing, washing, etc.) — and honestly, I think those extra costs are a bit overestimated by most brands. 😊
And let’s talk variety — because most store-bought frozen peaches come from generic varieties. But if you’ve ever been to a local orchard or farmer’s market or fruit stand, you know: there are so many different kinds of peaches! Firmer ones for baking and canning, softer and sweeter ones for smoothies, more acidic varieties for jams and preserves, and those extra juicy ones are perfect for nectars and fresh juices.
When you pick out the varieties that best meet your needs and freeze them yourself, you don’t just get better peaches — you get the right peaches for all your cooking, baking, and snacking needs all winter long and even into the spring season.
So by processing and freezing peaches at home, you’re getting sweeter fruit, saving money, choosing the quantity you want, picking the exact varieties that suit your cooking/ baking style, and making it super convenient to have juicy peaches on hand — whenever you want them. 😊
When to Freeze Peaches?
Like I mentioned above — freeze your peaches when they’re fully ripened. This is when the fruit’s natural starches have converted into simpler sugars (thanks to the enzymatic processes when the fruit ripens), resulting in sweeter, more flavorful fruit that’s perfect for cooking or enjoying later on.
When peaches are truly ripe, they’ll be soft and much juicier to cut — which can make the process a little messier, sure, but its totally worth it for that extra kick of flavor and candy-like sweetness the peaches add to everything you bake and cook. 😊
This means the freezing process can happen all summer and fall — anytime your batches of peaches hit peak ripeness and you need to save them before they go to waste. Because we’re not about to let any mouth-watering peaches go to waste, right?! 🍑
🍑 How to Freeze Peaches – Step-by-Step
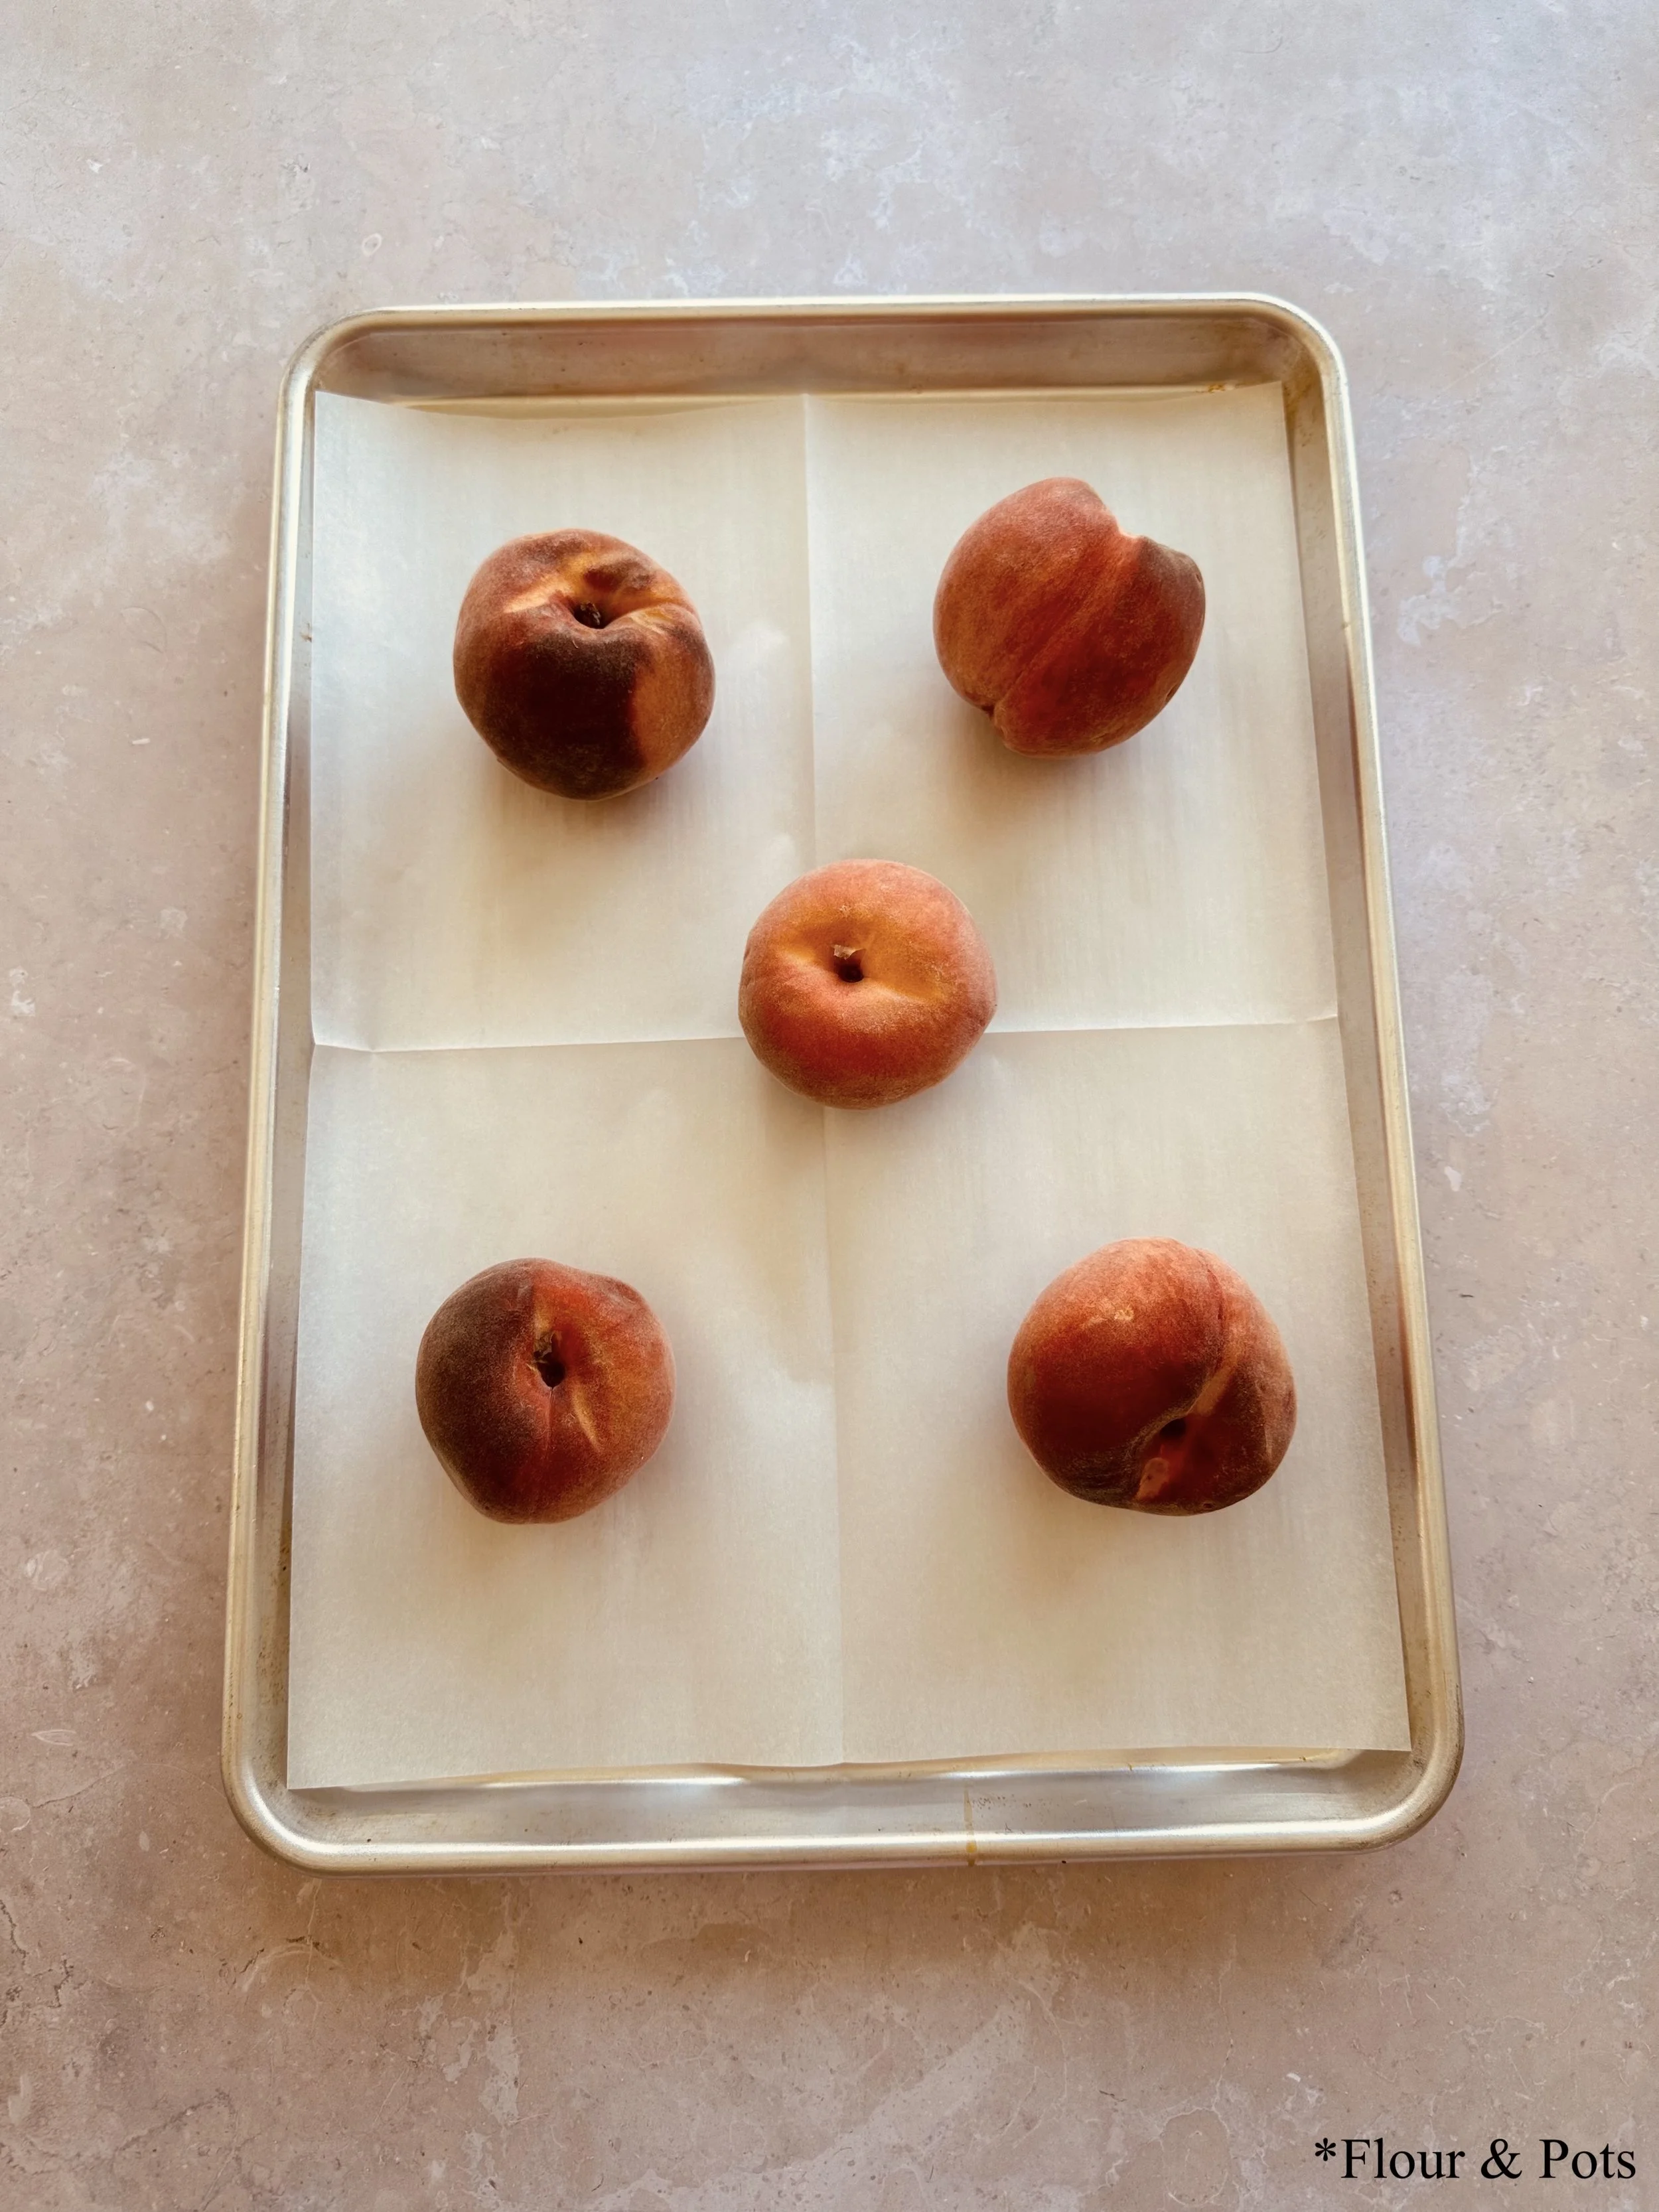
1. Wash the peaches.
Rinse your peaches thoroughly under cold water to remove dirt, residue, and even insecticides.
2. Dry them completely.
Lay the washed peaches out in a single layer on a thick towel. Let them air dry for 15–30 minutes, or gently pat them dry using a second towel. (Dry fruit freezes better when you remove water - it helps avoid ice crystals during the entire process.)
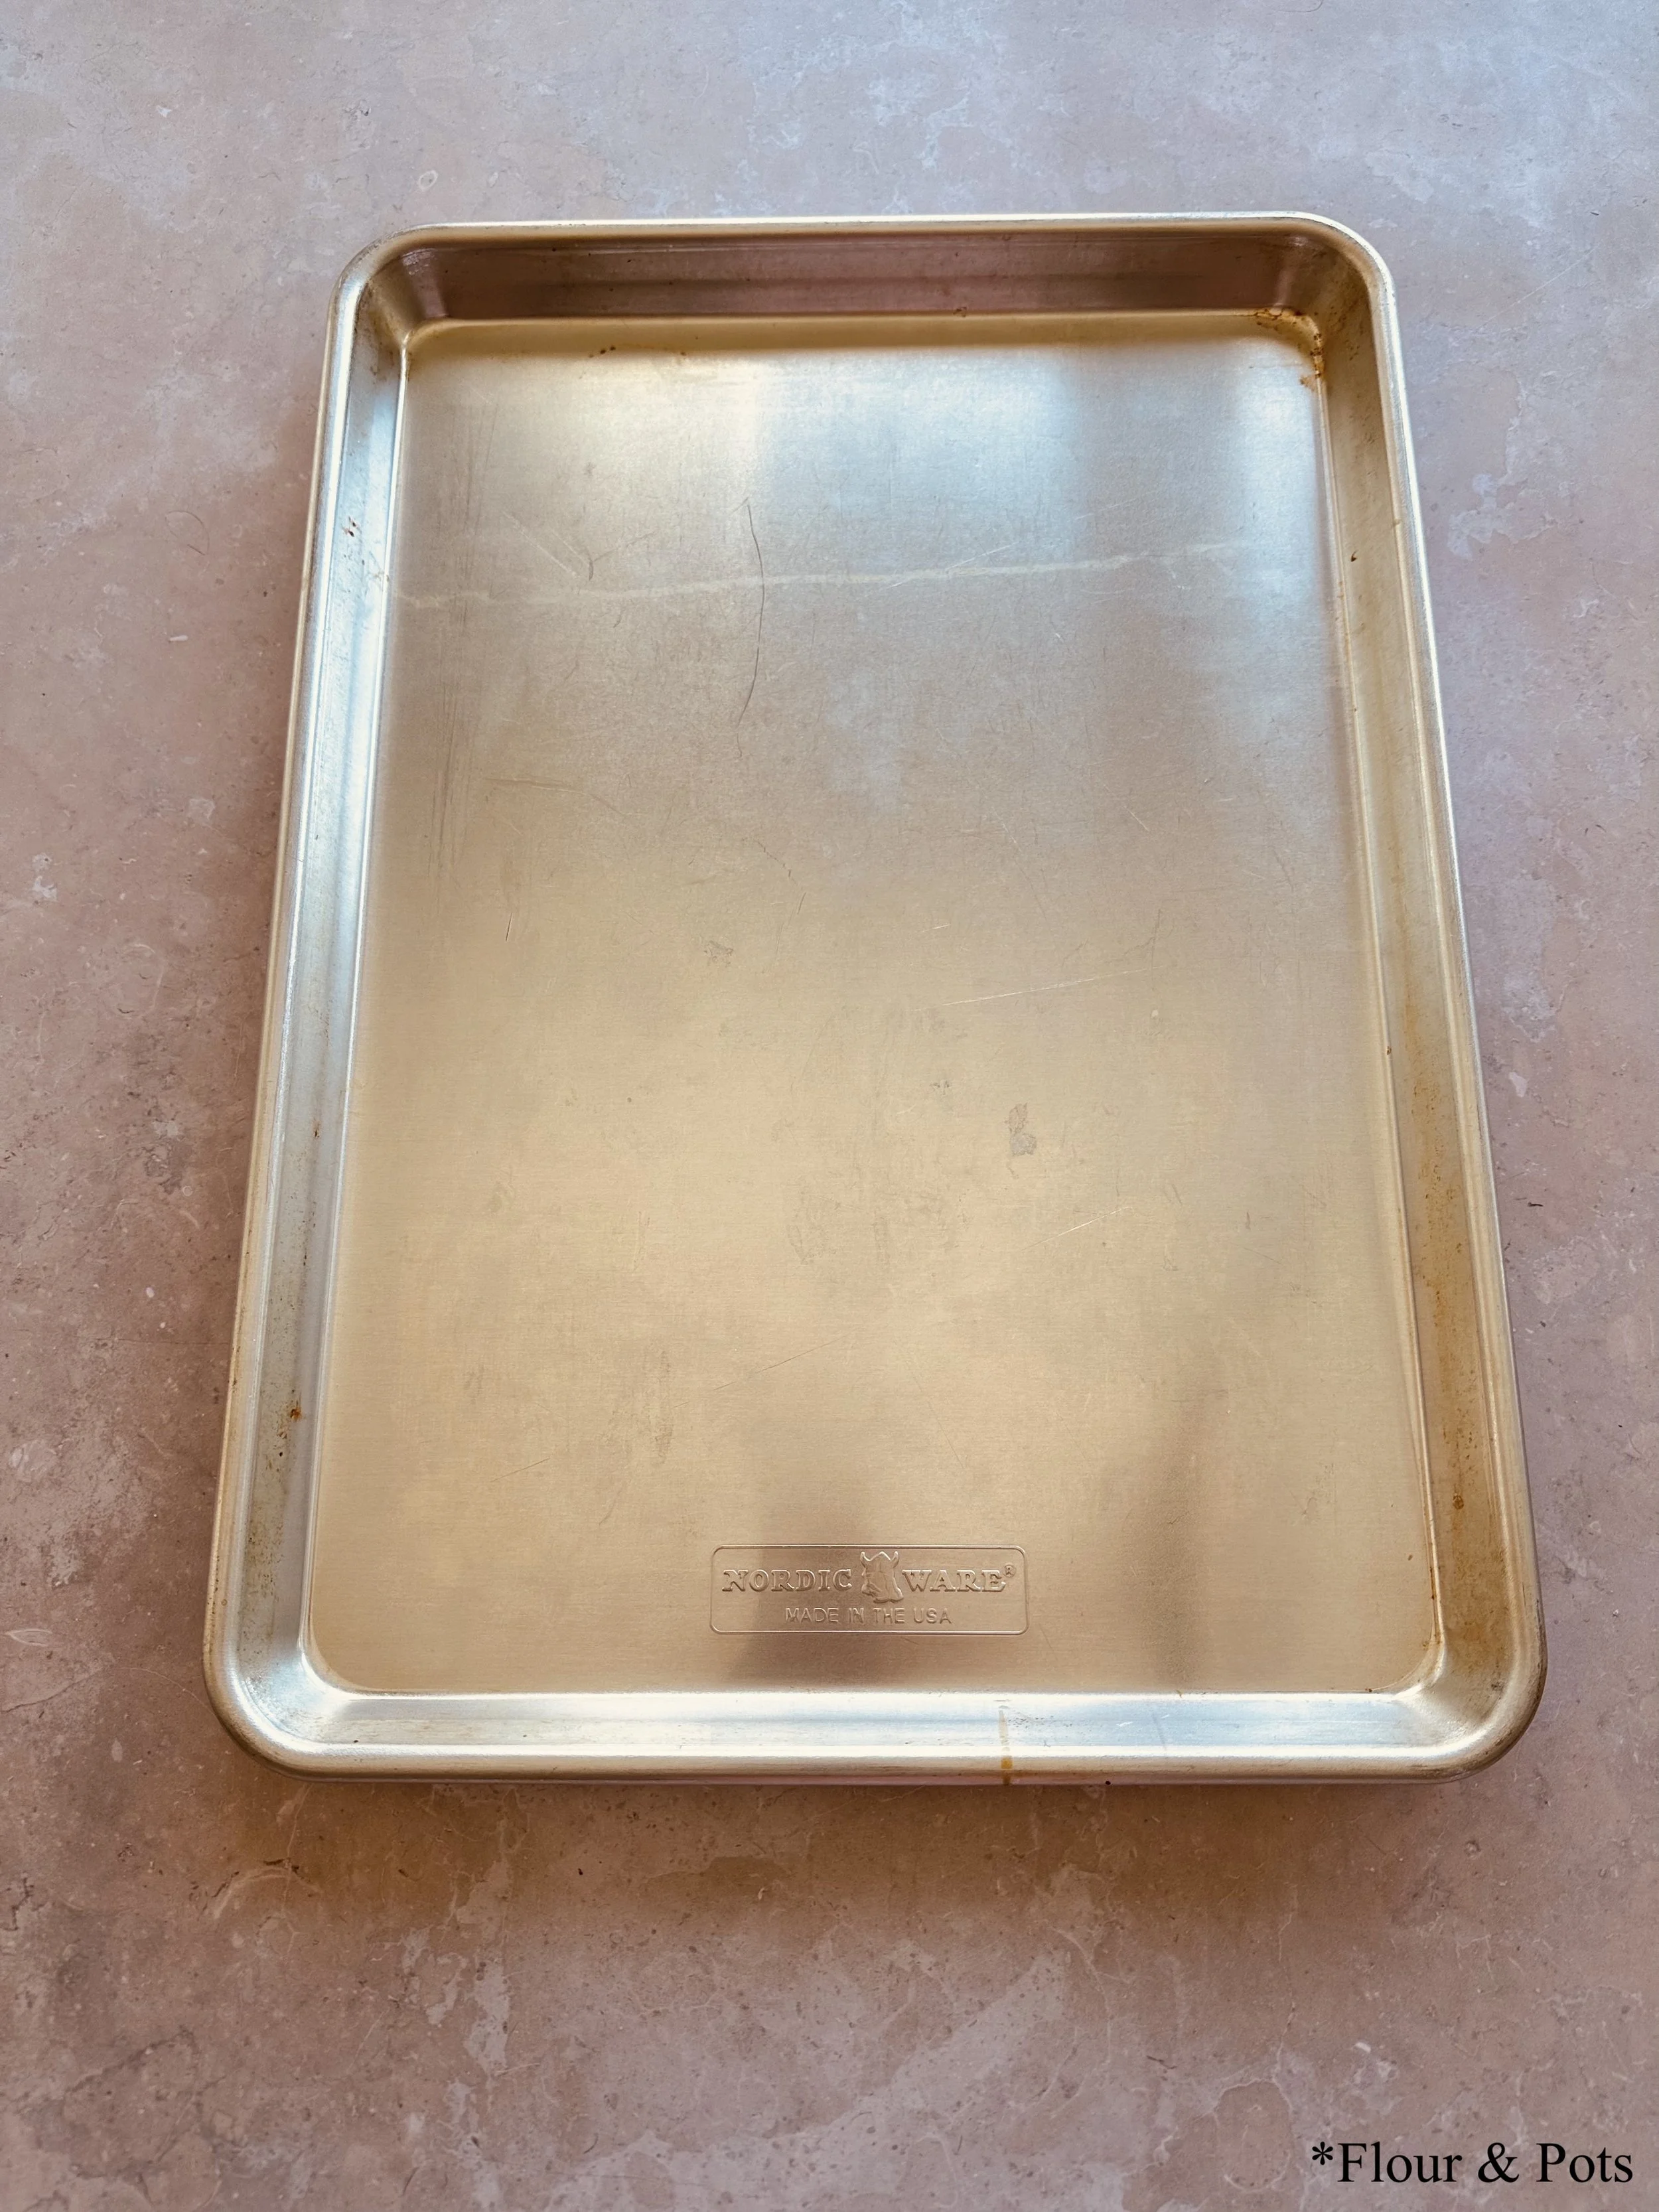
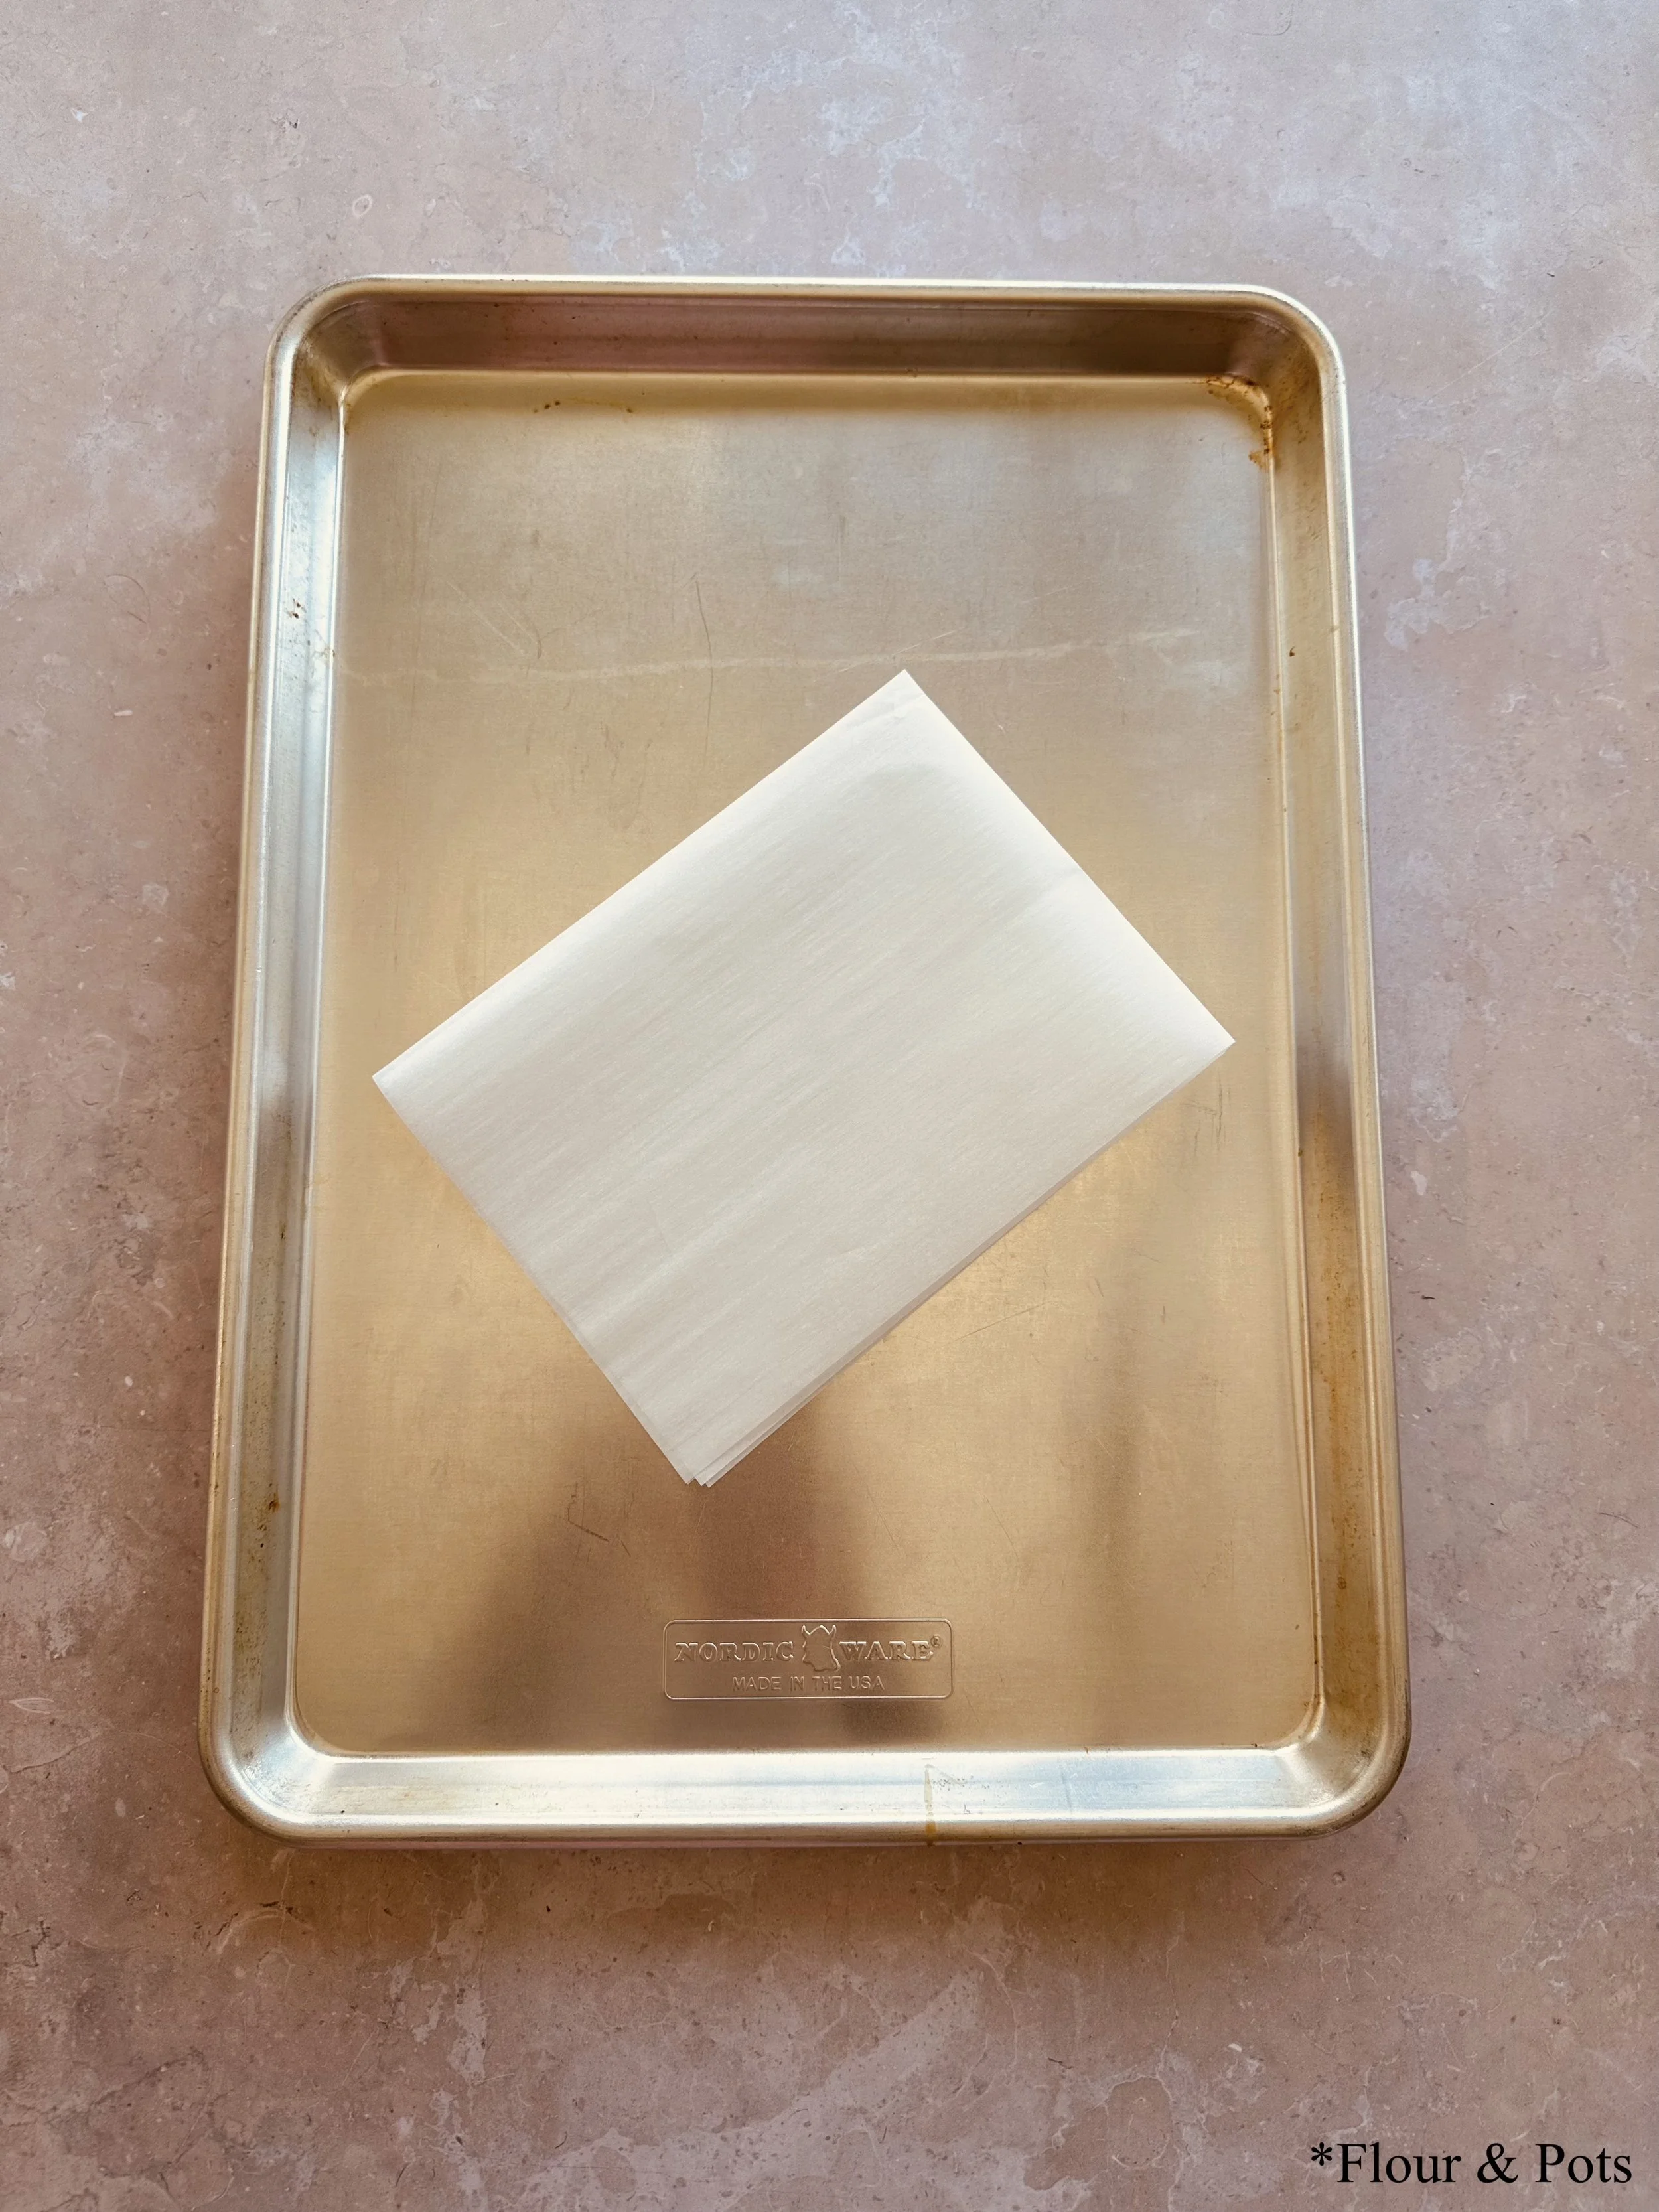

3. Line your baking sheets.
Prepare one or more baking sheets by lining them with parchment paper - based on the amount of peaches you are processing and freezing. Set aside.
4. Peel the peaches.
Using a paring knife or some sort of sharp knife, peel the skin off each peach. (Tip: well your cutting peaches - remove any excesses bruises, holes, or cuts that might spoil the fruit faster during its freezer self life).
5. Cut the peaches.
On a cutting board - slice, cube, or chunk your peaches based on how you plan to use them later — it’s all about your personal preference on this step!
6. Arrange on baking sheets.
Lay the peach pieces in a single layer on your prepared parchment-lined trays. Don’t stack or crowd them — this keeps them from freezing into one big clump. Laying them evenly out on the tray will make packing them later on easier.

7. Freeze until solid.
Place the trays into the freezer. Freeze the peaches for 3 to 24 hours, or until completely solid. This step is important for preventing sticking and keeping the fruit easy to portion off into bags later on.
8. Choose your storage method:
Vacuum-Sealed Bags (Lasts 12–18 months): machine required
Place frozen peaches in vacuum sealer bags. Use your food saver machine to remove the air and seal the bags tight. Label with the date and freeze.Freezer-Safe Ziplock Bags (Lasts 8–10 months): no machine required
Transfer frozen peach pieces into freezer-safe Ziplock bags. Press out as much air as possible before sealing completely. Label with the date and freeze.
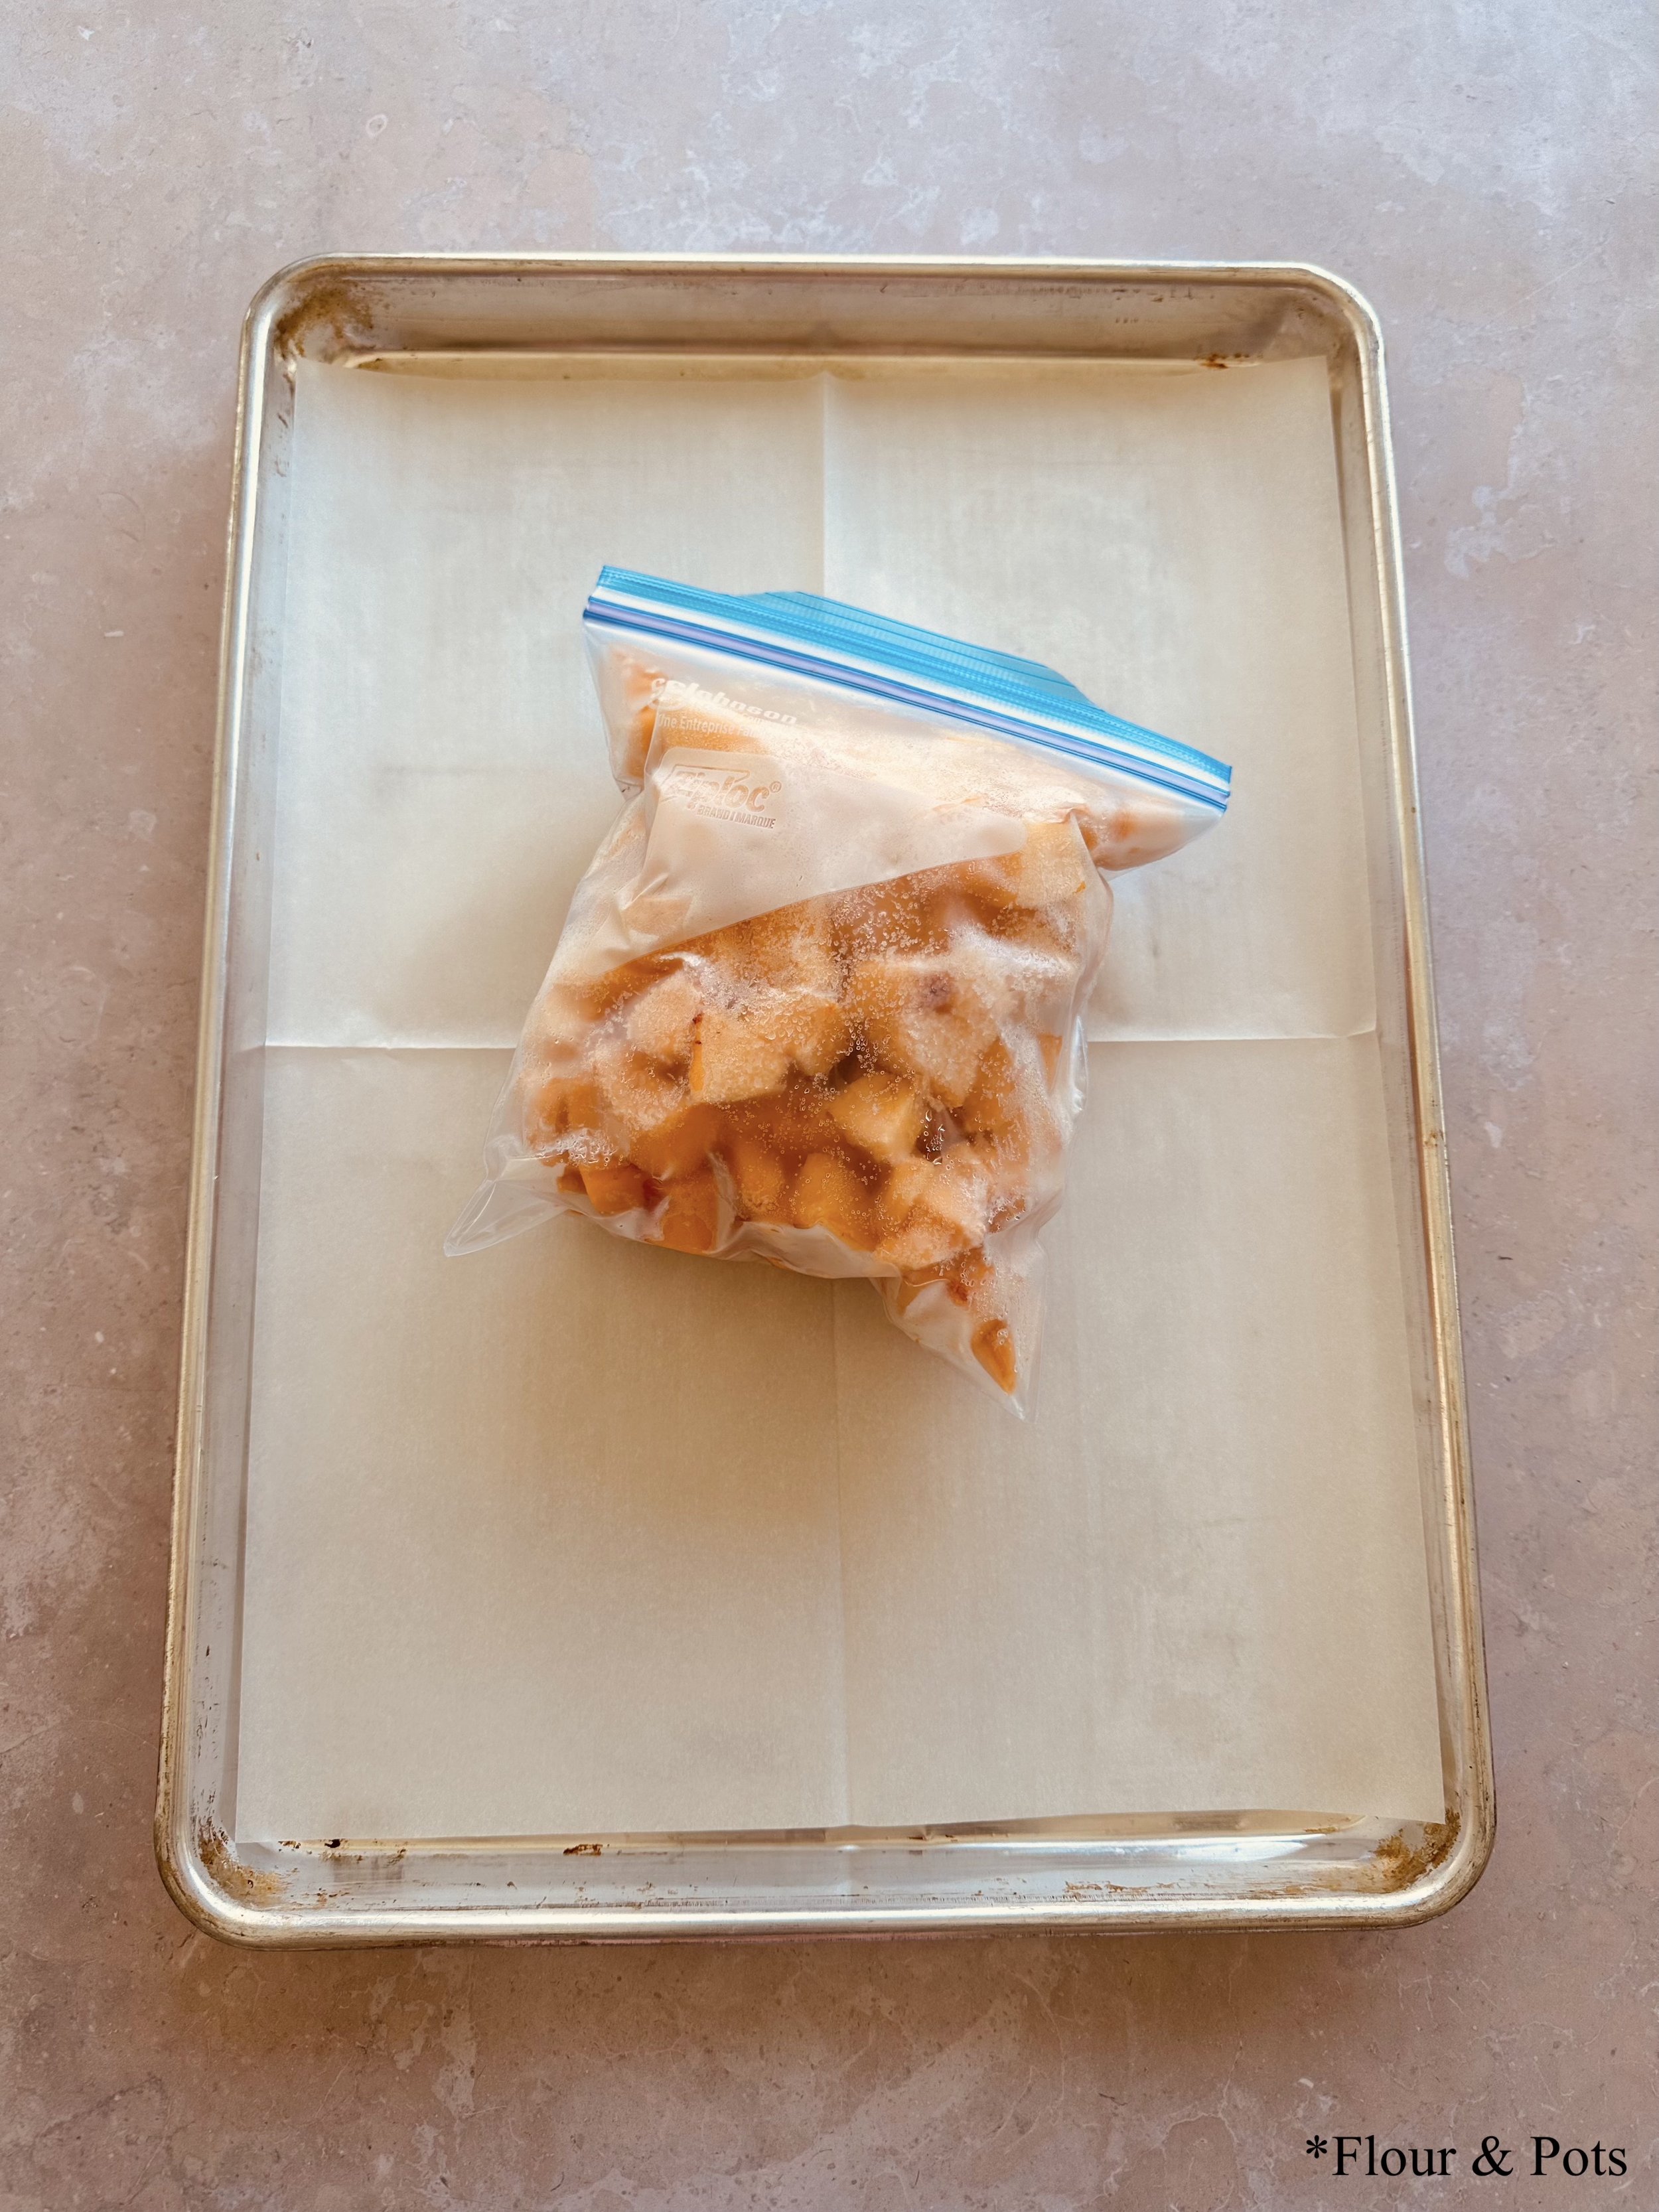
9. Label and store.
No matter which method you choose, make sure to write the date you froze them on each bag using something like a sharpie that will stick and help you keep track of timing. Store the bags of peaches flat in the freezer for easier stacking and space-saving strategies. And make sure to keep them somewhere you can conveniently access whenever you need to grab and make something sweet and summer flavor packed.
10. Use and enjoy all year long!
Your frozen peaches are now ready whenever you need them — perfect for smoothies, baking, jams, syrups, sauces, salsas, and more. You’ll thank yourself later during those winter months when fresh fruit isn’t quite the same and you want to make something that brings the sunshine into your home :)
Late of all, hard work is always worth it - you’ll not only be able to taste a difference, but you’ll see a difference in the cost saving at the end of each season! Saving your own fruit is always satisfying and makes you feel accomplished - I promise you that!